
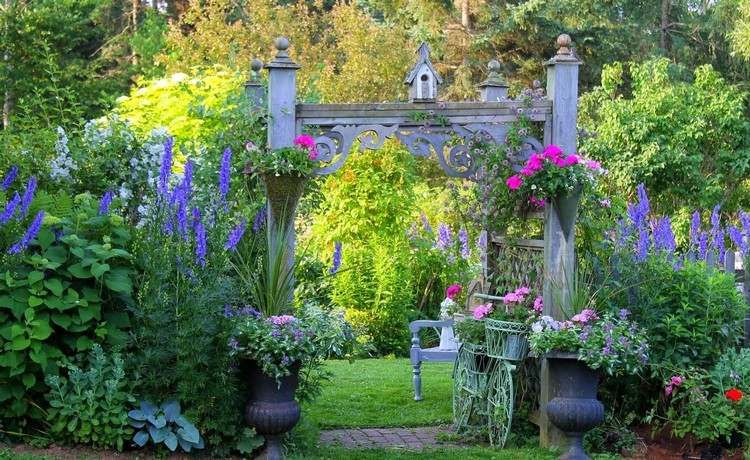
Embarking on a gardening journey can be incredibly fulfilling, whether you’re surrounded by the scent of blooming flowers or growing your own delicious vegetables. For beginners, starting a garden might seem daunting, but fear not! By breaking the process into manageable steps, you can ease into gardening at your own pace and witness the delightful rewards of your efforts through vibrant colors, delectable flavors, and stunning views. These simple steps will guide you in getting started from scratch, but if you have a specific vision in mind, you can also utilize a garden plan to shape your design. So roll up your sleeves, get your hands a little dirty, and let the joy of gardening unfold before you.
Consider What to Plant
Are you eager to create a vegetable garden, an herb garden, or perhaps a flower garden? The first step is to decide what kind of garden aligns with your goals. If you’re aiming to harvest fresh produce for your dinner table, focus on planting vegetables and herbs that your family enjoys or is willing to try. On the other hand, if you’re drawn to the allure of flowers with their vibrant colors and enchanting scents, consider whether you prefer annuals that bloom throughout the summer but require replanting each spring or perennials that offer shorter bloom periods but return year after year. Each type of garden, whether standalone or combined, can create a breathtaking landscape, but keep in mind that they come with distinct maintenance requirements. As a word of advice, start with a small garden plot initially to gain a better understanding of the commitment involved before expanding further.
Pick the Best Garden Spot
Before starting your garden, take note of the sun patterns in your yard. Most vegetables and many flowering plants require 6-8 hours of full sun daily. Observe your yard throughout the day to identify areas that receive full sun, partial sun, or full shade. If your yard is mostly shaded, don’t worry! While tomatoes might not thrive in the shade, there are plenty of other plants, like hostas and outdoor ferns, that will do well in such conditions. To determine the sunlight needs of specific plants, refer to plant tags or seek assistance from the knowledgeable staff at your local garden center.
When selecting a location for your garden, opt for a relatively flat area. Dealing with a sloping garden can be more challenging, time-consuming, and costly. Additionally, ensure that your chosen spot has convenient access to a water source, as regular watering is essential for the health and growth of your plants. With proper planning, you’ll create a thriving garden that brings beauty and bounty to your outdoor space.
Clear the Ground
To prepare the area for your garden, begin by eliminating weeds and sod. Depending on your timeline and preferences, there are two approaches you can take. For quicker results, especially if you aim to have vegetables this summer and it’s already spring, use a spade to slice under the sod. Divide the sod into manageable sections to make removal easier.
For a longer-term project, consider the lasagna gardening method. Cover the designated garden area with five sheets of newspaper, or double that if your lawn has Bermuda grass or St. Augustine grass. Then, spread a 3-inch layer of compost or a mix of potting soil and topsoil on top of the newspaper. Water the layers thoroughly and wait for approximately four months for the compost and paper to decompose. Starting this process in the fall will ensure a garden bed free of grass and weeds and filled with nutrient-rich soil by the following spring, ready for planting. This method offers a low-maintenance way to create a fertile and weed-free garden space over time.
Test and Improve Your Soil
To understand the characteristics of your soil better, consider conducting a soil test through your county cooperative extension office. They will guide you on how to collect soil samples from various parts of your garden and the best time to do so. After submitting the samples, you can expect to receive the results in about two weeks. The findings will reveal any deficiencies in your soil and provide recommendations on how to improve it. Alternatively, you can use a DIY soil test kit, which may not be as detailed but will give you a basic understanding of your soil’s nutrient levels.
Residential soil often requires enrichment, especially in newly constructed areas where topsoil may have been removed. Besides lacking essential plant nutrients, your soil might have drainage issues or be compacted. The remedy is usually straightforward: Adding abundant organic matter. When preparing a new bed by digging or tilling, incorporate a 2- to 3-inch layer of compost into the soil. For established beds or if you choose not to dig, simply apply the organic matter on the surface. Over time, it will transform into humus (organic material), aided by the activity of earthworms who will help mix the humus into the subsoil. This process will improve the overall fertility and structure of your soil, creating a healthier environment for your plants to thrive.

Prepare Your Planting Beds
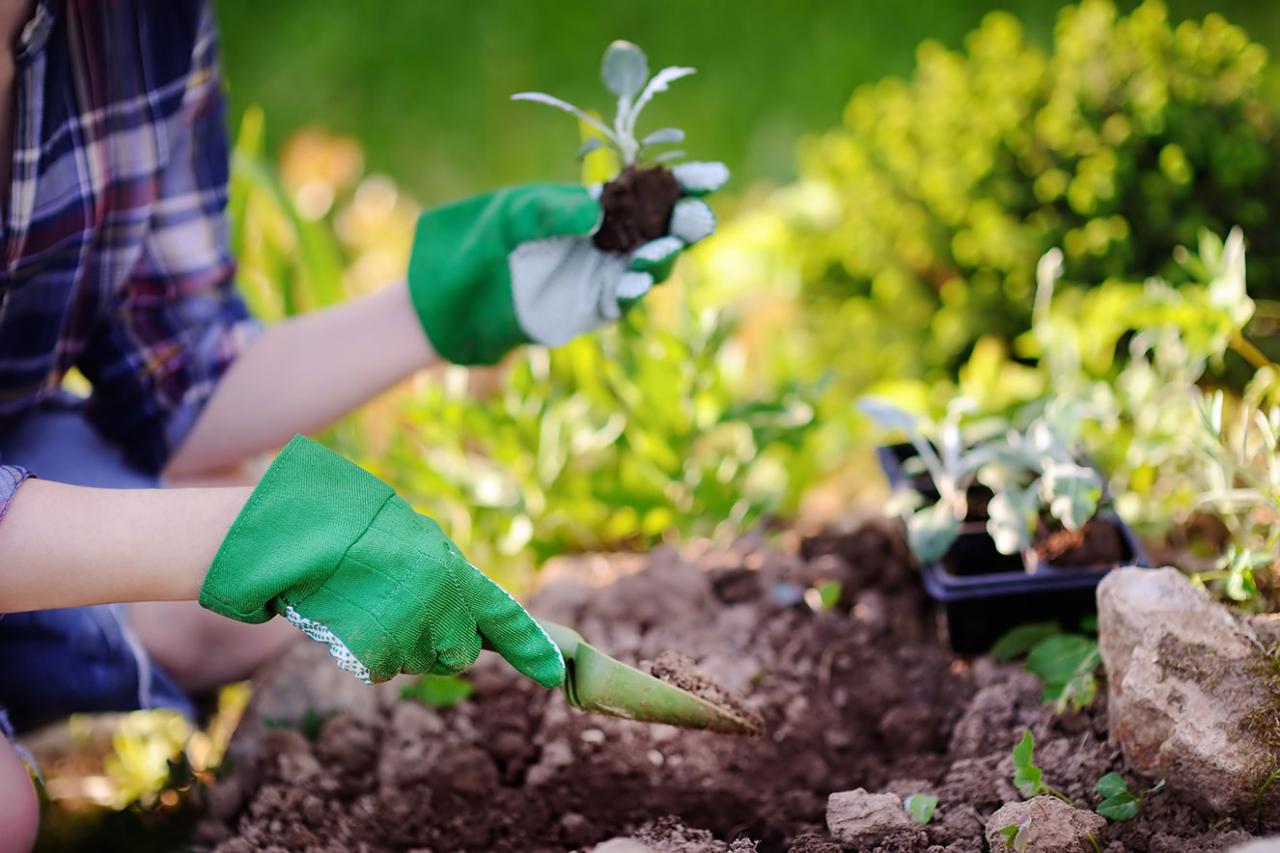
Preparing the soil in new beds before sowing or planting is essential to facilitate root growth and ensure easy access to water and nutrients. There are two effective methods for this task: tilling with a mechanical device like a rototiller or hand-digging. Tilling is suitable when you need to incorporate substantial amounts of amendments into the soil. However, caution is necessary as excessive tilling can harm the soil structure. For smaller beds, hand-digging is more practical.
Regardless of the method chosen, work the soil only when it has the right moisture level – moist enough to form a loose ball in your fist, yet dry enough to crumble when dropped. Digging when the soil is too dry will require more effort, while working with overly wet soil can disrupt its structure. Use a spade or spading fork to gently turn the top 6-8 inches of soil, simultaneously blending in the organic matter from Step 4. To prevent soil compaction, avoid walking directly on the prepared beds. Instead, temporarily place plywood boards to evenly distribute your weight while working. This will maintain the soil’s fluffiness and ensure an ideal environment for your plants to flourish.
Pick Your Plants
Plant shopping can be an exciting process, whether you meticulously browse catalogs or get inspired at the garden center. Regardless of your approach, the key to successful gardening is selecting plants that suit your climate, soil, and sunlight conditions. Thanks to the Internet, you can now explore and purchase a wide variety of plants online too. If you’re new to gardening and looking for easy-to-grow options, here are some beginner-friendly plants to consider:
Annuals: Calendula, cosmos, geraniums, impatiens, marigolds, sunflowers, and zinnias
Perennials: Black-eyed Susans, daylilies, lamb’s ears, pansies, phlox, purple coneflowers, and Russian sage
Vegetables: Cucumbers, lettuce, peppers, and tomatoes
Start Planting
Timing is crucial when it comes to planting different types of plants. Cold-tolerant varieties like pansies and kale can be planted in autumn or late winter. However, for warm-weather lovers like tomatoes and most annual flowers, it’s best to wait until the risk of frost has passed in your region before planting them. Mid spring and mid autumn are ideal times for planting perennials.
Growing annuals from seeds directly in the garden is an easy and rewarding option. Consult the seed packet for planting instructions, including the right depth and spacing. For a more adventurous approach, start seeds indoors a few weeks before the last frost date to get a head start on the growing season. You can use containers or flats designed for seedlings and seed-starting soil mixes, available at garden centers. Ensure the seeds and seedlings remain moist but not waterlogged to prevent rotting.
Alternatively, you can simplify the process by purchasing young plants that you can transplant directly into your prepared garden bed. Dig holes based on the instructions provided on the plant tags. Gently remove the plant from its container, untangling any root-bound roots if necessary, and place it into the hole. Carefully fill the hole with soil, pat it down around the roots, and water thoroughly.
Water at the Right Time
Proper watering is essential for the health of your plants. Seedlings require constant moisture, so water them daily to ensure they don’t dry out. As the plants grow larger, gradually reduce the frequency of watering. When transplanting, make sure to water them every other day or as needed until their roots become well-established.
Once the roots are established, the watering frequency will depend on factors like your soil type, humidity, and rainfall. As a starting point, watering once a week is a good guideline. Clay soil retains moisture better than sandy soil, so you won’t need to water it as frequently. Additionally, sunny and windy conditions tend to dry out the soil faster than cooler, cloudy weather.
If you’re unsure when to water, simply feel the soil about 3-4 inches below the surface. If it feels dry to the touch, it’s time to water. When watering, do it slowly and deeply to ensure the water is absorbed and doesn’t run off. Watering in the early morning helps minimize evaporation, allowing your plants to make the most of the moisture.
Protect Your Garden With Mulch
Mulching is a great way to maintain a healthy garden. By applying a layer of mulch, about two inches thick, you can keep weeds at bay and retain moisture in the soil. This means less frequent watering for you, and the absence of sunlight reaching the soil helps prevent weed seeds from sprouting. However, be cautious not to cover the seeds you want to grow, as this may hinder their germination.
You have various mulch options to choose from, each with its own advantages. Shredded bark, straw, and river rock are popular choices. Organic mulches, such as bark, compost, or cocoa bean shells (which also add a pleasant aroma), break down over time and enrich the soil as they decompose. For vegetable gardens or annual beds, opt for a mulch that decomposes within a few months. On the other hand, for perennials, use longer-lasting mulches like bark chips.
Maintain Your Garden Regularly
As your garden starts to flourish, nurturing it with regular garden chores will help it reach its full potential. Keep a close eye on watering, ensuring plants receive moisture before they begin to wilt. To prevent weed proliferation, pull them out before they have a chance to go to seed. Clear away any dead, dying, or diseased vegetation to promote a healthy garden environment.
Be on the lookout for harmful insects like tomato hornworms and take action to remove them. You can either pick them off the plants and place them in a bucket of soapy water, hose them off, or use insecticidal soap purchased from a garden center. Tall plants, such as tomatoes, may need support as they grow. Utilize trellises, stakes, or tepees to keep them upright and thriving.
When your vegetables are ready for harvest, don’t wait too long; pick them promptly to enjoy them at their peak flavor. Take some time to savor the fruits of your labor and appreciate the beauty and fragrance of your blooming plants. Engaging in these garden chores will ensure your garden remains vibrant and fulfilling throughout the growing season.